Table of Contents
How to Create the Perfect Bandana Look: A Step-by-Step Tutorial from Crafted for Perfection
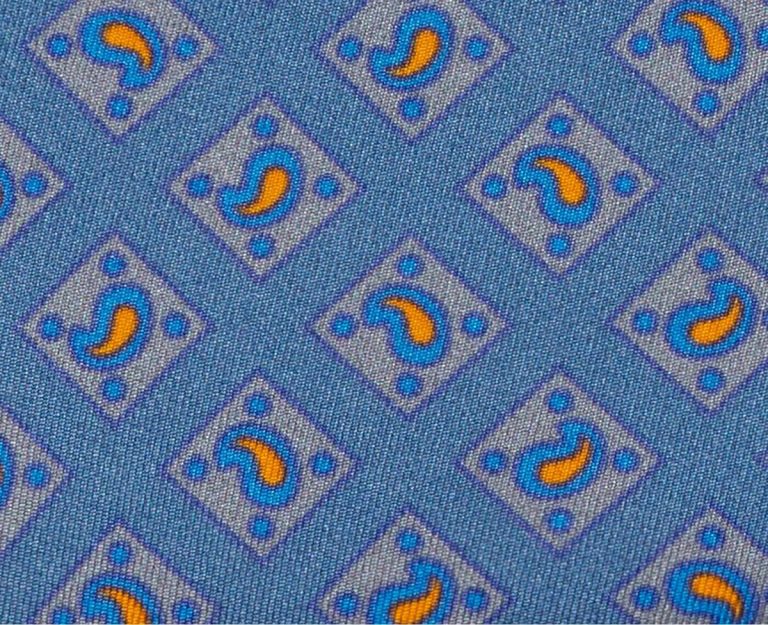
Welcome to Crafted for Perfection’s step-by-step tutorial on how to create the perfect bandana look! Bandanas are a great way to add a touch of style to any outfit, and with this tutorial, you’ll be able to create the perfect look in no time. Step 1: Choose Your Bandana The first step is to choose the right bandana for your look. Consider the size, color, and pattern of the bandana to make sure it complements your outfit. If you’re going for a more casual look, opt for a smaller bandana with a simple pattern. For a more formal look, choose a larger bandana with a bolder pattern.
Get the Most Out of Your Bandanas: Tips from Crafted for Perfection, the Bandana Manufacturer
| 2 pocket square | print head | bow tie scarf |
| 19mm | seamless double layer | cotton canvas |