How to Create Custom Bandanas: A Step-by-Step Tutorial
Bandanas have been a popular fashion accessory for decades, with their versatility and style making them a staple in many wardrobes. Whether you’re looking to create custom bandanas for a special event, promotional purposes, or simply to add a personal touch to your outfit, learning how to make your own can be a fun and rewarding experience. In this step-by-step tutorial, we will guide you through the process of creating custom bandanas from start to finish.
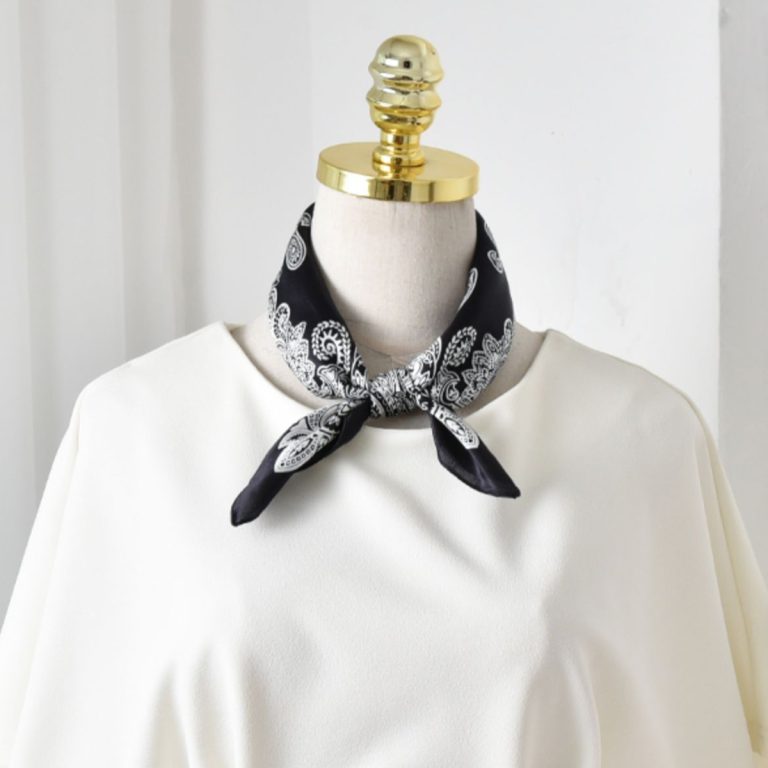
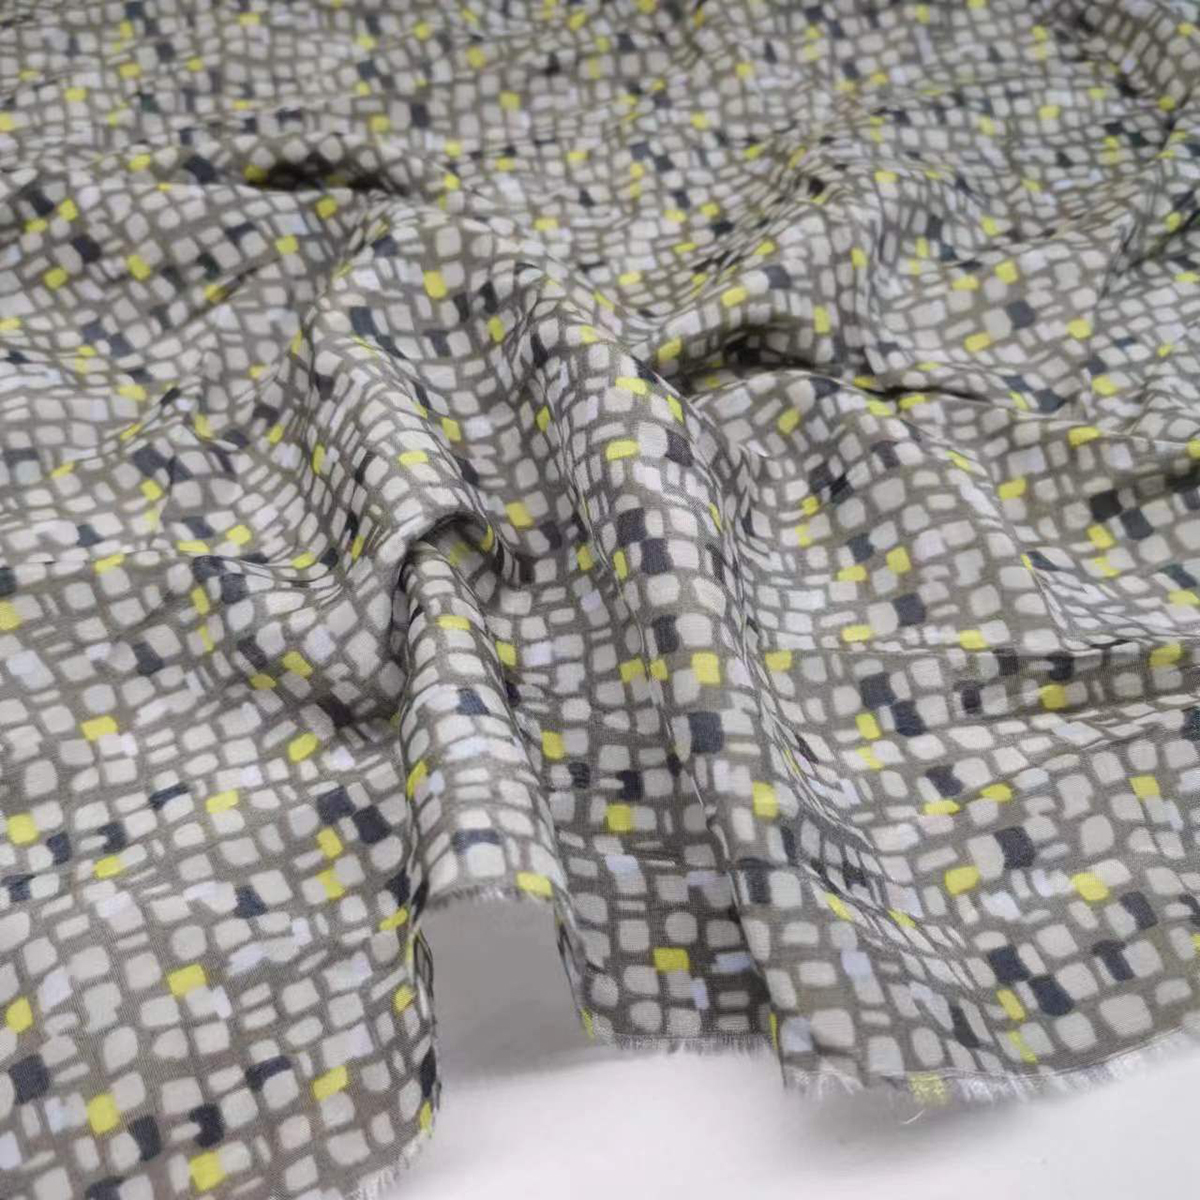
The first step in creating custom bandanas is to choose the fabric you want to use. Cotton is a popular choice for bandanas due to its softness and durability, but you can also opt for other materials such as polyester or silk depending on your preferences. Once you have selected your fabric, you will need to decide on the size of your bandanas. Standard bandanas are typically 22 inches square, but you can adjust the dimensions to suit your needs.
Next, you will need to cut your fabric into squares of the desired size. Using a ruler and fabric scissors, carefully measure and cut out each square, making sure to trim any uneven edges for a clean finish. Once you have cut out all of your squares, you can move on to the next step in the process.
After cutting out your fabric squares, it’s time to add your custom design. This is where the fun part begins! You can choose to screen print, embroider, or even hand-paint your design onto the fabric. If you’re looking to create a large quantity of custom bandanas, screen printing is a cost-effective option that allows you to replicate your design with precision and consistency. Alternatively, if you’re only making a few bandanas, hand-painting or embroidering your design can add a personal touch to each piece.
Once you have added your custom design to the fabric, you can finish off your bandanas by hemming the edges. This step is essential for preventing fraying and giving your bandanas a polished look. Using a sewing machine or needle and thread, fold over the edges of each square and sew them in place. You can choose to leave a small border or fold the edges over twice for a more secure finish.
Finally, once you have hemmed all of your bandanas, you can give them a final press with an iron to smooth out any wrinkles and ensure a professional appearance. Your custom bandanas are now ready to be worn, gifted, or sold!
| 90 scarf | silk linen |
| 2 meter shawl | football scarf |
In conclusion, creating custom bandanas is a fun and rewarding process that allows you to express your creativity and style. By following this step-by-step tutorial, you can easily make your own custom bandanas for any occasion. Whether you’re looking to create a unique accessory for yourself or promote your brand, custom bandanas are a versatile and stylish option. So why wait? Start creating your custom bandanas today and add a personal touch to your wardrobe!